Hook: If your precious 13-inch MacBook Pro’s screen has met an unfortunate end, don’t despair. You don’t have to bid farewell to your trusty laptop just yet!
Pain Points: A broken or damaged 13-inch MacBook Pro screen can significantly impair your work, productivity, and multimedia enjoyment. The blurred, distorted, or unresponsive display not only hinders your efficiency but also diminishes the overall experience.
Target: Replacing a 13-inch MacBook Pro screen is a crucial solution to restore the functionality and aesthetic appeal of your device. A new screen brings back vibrant colors, sharp images, and a responsive touch experience, allowing you to seamlessly navigate your tasks and immerse yourself in your favorite content.
Summary: Whether you’re a creative professional, a student, or simply a technology enthusiast, a 13-inch MacBook Pro screen replacement can revitalize your laptop and ensure it remains a reliable companion for all your computing needs. Remember, a new screen not only fixes the physical damage but also rejuvenates the performance and overall user experience of your MacBook Pro.
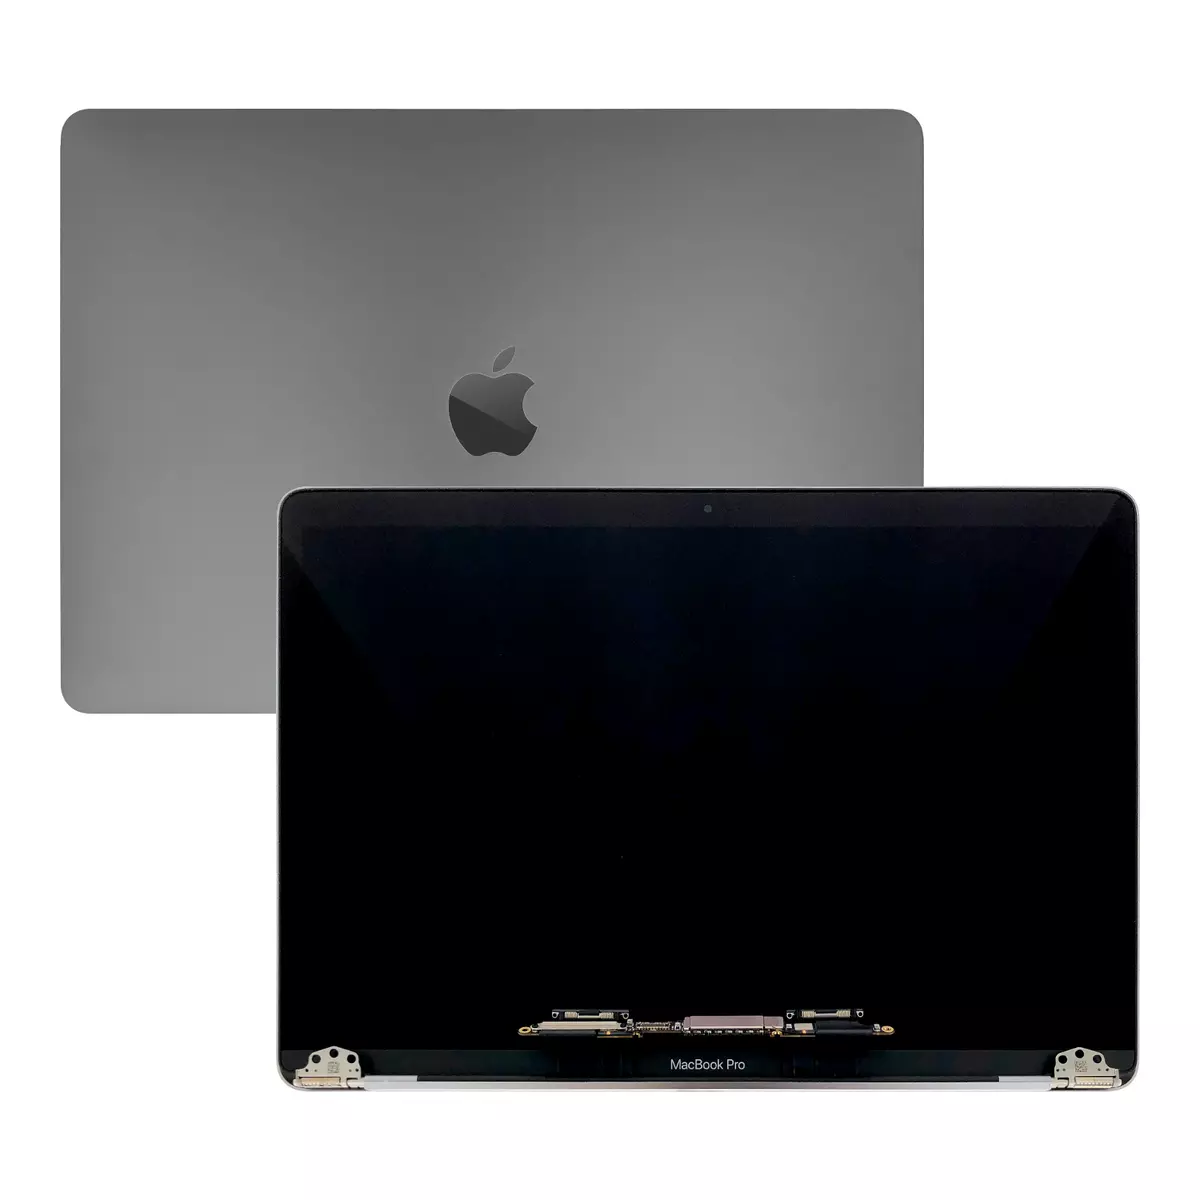
13 Inch MacBook Pro Screen Replacement: A Comprehensive Guide
Replacing the screen on a 13 inch MacBook Pro can be a daunting task, but with the right tools and instructions, it’s a project that can be completed at home. In this post, we’ll provide step-by-step instructions on how to replace the screen on a 13 inch MacBook Pro, as well as some additional tips and advice.
Why You Might Need to Replace Your MacBook Pro Screen
There are several reasons why you might need to replace the screen on your MacBook Pro. Some of the most common reasons include:
- Cracked or broken screen: This is the most common reason for replacing a MacBook Pro screen. A cracked or broken screen can make it difficult to use your computer, and it can also be a safety hazard.
- Flickering or dim screen: A flickering or dim screen can be caused by a variety of issues, including a faulty backlight or inverter.
- Dead pixels: Dead pixels are small, dark spots that appear on the screen. They can be caused by a variety of factors, including manufacturing defects or damage to the screen.
Tools You’ll Need
Before you begin replacing the screen on your MacBook Pro, you’ll need to gather the following tools:
- Pentalobe screwdriver: This is a special type of screwdriver that is used to remove the screws that hold the MacBook Pro’s bottom case in place.
- Phillips #00 screwdriver: This is a small Phillips screwdriver that is used to remove the screws that hold the display assembly in place.
- Spudger: A spudger is a thin, plastic tool that is used to pry open the MacBook Pro’s bottom case and remove the display assembly.
- Suction cup: A suction cup is used to help remove the display assembly from the MacBook Pro’s chassis.
Safety Precautions
Before you begin working on your MacBook Pro, it’s important to take some safety precautions:
- Unplug your MacBook Pro from any power sources.
- Place your MacBook Pro on a clean, flat surface.
- Wear an anti-static wrist strap to prevent electrostatic discharge (ESD).
Step-by-Step Instructions
Once you have gathered the necessary tools and taken the appropriate safety precautions, you can begin replacing the screen on your MacBook Pro.
1. Remove the Bottom Case
Use the pentalobe screwdriver to remove the ten screws that hold the bottom case in place. Once the screws are removed, you can pry open the bottom case using the spudger.

2. Disconnect the Battery
Use the spudger to disconnect the battery connector from the logic board. This will disconnect the battery from the computer and prevent it from being damaged during the repair process.

3. Remove the Display Assembly
Use the Phillips #00 screwdriver to remove the four screws that hold the display assembly in place. Once the screws are removed, you can carefully lift the display assembly out of the MacBook Pro’s chassis.

4. Remove the Old Screen
Use the spudger to carefully pry the old screen out of the display assembly. Be sure to be careful not to damage the new screen.

5. Install the New Screen
Carefully insert the new screen into the display assembly. Be sure to align the screen properly before pressing it into place.

6. Reassemble the Display Assembly
Once the new screen is in place, you can reassemble the display assembly. Be sure to tighten the screws that hold the display assembly in place.
7. Reconnect the Battery
Reconnect the battery connector to the logic board. Be sure to press the connector firmly into place.
8. Install the Bottom Case
Reinstall the bottom case onto the MacBook Pro. Be sure to tighten the screws that hold the bottom case in place.
9. Test the New Screen
Turn on your MacBook Pro and test the new screen. Make sure that the screen is working properly and that there are no dead pixels or other defects.
10. Troubleshooting
If you’re having trouble replacing the screen on your MacBook Pro, there are a few things you can try:
- Make sure that you have the correct tools.
- Follow the instructions carefully.
- If you’re still having trouble, you can contact Apple support for help.